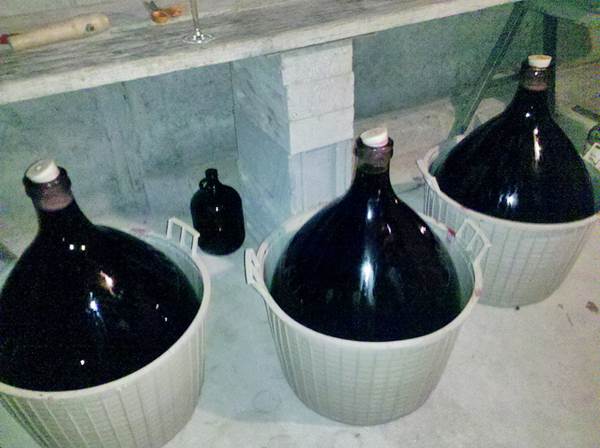
 Homemade wine set-up – Image Courtesy: John Blyberg
The whole purpose of making your own wine at home is to get a nice flavour and taste that you can truly enjoy with your friends and family. You can improve the taste of your home made wine by following some basic steps.
However, before we go about discussing this basic approach to give your wine a better taste, you may want to go through our step-by-step guide to make wine at home. After you have absorbed the whole process outlined there, it is time to try these three ways of changing the taste of your product – by using stems, yeast and sugar.
1. Stems
In the step-by-step guide, we told you to carefully remove all the stems before you crush the grapes. Well, that is the stage for our first experiment that you may want to try. You can leave some of the stems intact while you crush the grapes. It will usually raise the amount of tannin in the wine and make it rougher. However, it might make the wine bitter to an extent, so be careful while doing this experiment.
Also, as this step will affect the whole batch, it is advisable to try it on a small experimental mash to see if you like the taste.
2. Yeast
Most of the wine enthusiasts, who are interested in producing a good quality of wine, prefer to use special yeast instead of leaving the whole process to be performed by natural bacteria. You may also experiment with special yeast that can be purchased easily from the market.
However, in this case, it is very important to WASH the grapes to remove the natural bacteria BEFORE you add any yeast (it is opposite to what we did in the step-by-step guide where the grapes were NOT to be washed). The reason behind washing the grapes now is that the combination of natural bacteria and the added yeast doesn’t work out well and you’ll have an unpleasant and wasted batch of wine on your hands.
You might also have to purchase additional ingredients for cleaning the wine from the yeast. If followed carefully, this process makes the wine more stable; however, somehow, the natural chemistry of the wine is diminished by it and you end up with a ‘product’ instead of a ‘mystery’. The choice is all yours.
3. Sugar
Since many of the recipes recommend boiling the juice with sugar, which actually kills the natural bacteria, sugar goes more as an addition to yeast. So, there is no other choice except to add special wine yeast to your mix. Some other recipes recommend skipping the boiling part by adding sugar dissolved in water. However, it requires additional attention to the quality of water to which the sugar is added.
As mentioned earlier, the stems tend to make the wine drier or bitter and sugar is added for the purpose of making the wine sweeter, and therefore, to become a dessert wine.
The proportions of sugar and yeast to be added will usually be shown on the yeast package and will also depend on the amount and the type of juice that you have.
A Final Note:
It is strongly recommended that you only try any of the above mentioned experimentation on a small amount of wine – for example, with a couple of separate one gallon bottles. Remember that it’s not unusual for an experiment to go wrong but you’ll learn from it and may try again with more precautions in place. With time, you’ll become a master blender of wine and may even learn how to leave your wine for secondary fermentation. However, for the more complex winemaking process, you will require at least 3-4 years of winemaking experience and having a deep understanding of the different types of wine.
Leave a Comment